Saturday, October 8, 2016
Dr. Mantena's Special - Kandagadda Fry
It's
been a while that I haven't uploaded this blog. I know some of you must be
missing my updates. Anyway, here I am with yet another healthy and nutritious
recipe as Dr. Mantena's Special - Kanda-gadda Fry. Kanda-gadda is known as an
Elephant Foot Yam in English and it has great remedial effects on health. It is
used in many traditional medicine systems and in Ayurveda it is used for
numerous illness ranging from minor ailments cough, cold etc to improving the
quality of sperm and for liver and spleen disorders. As a vegetable it is used
to treat piles and haemorrhages. Especially, for women suffering from irregular
periods or absence of periods, cramps and aches during menses consuming
elephant yam does great deal of good for them as it creates balance in the
hormonal system by increasing the oestrogen levels. Women suffering from menstrual
issues are recommended to eat elephant yam regularly 7 days before their
monthly cycle. This is going to do world of good for them.
Coming
to our recipe now the kanda-gadda or Yam fry, it is simple and easy to make
without consuming much time. Without making any further delay let's see what
ingredients we need to make it.
Ingredients:
1.
Elephant Yam (Kanda-gadda) - 1/2 Kg
2.
Lemon - 1 big size
3.
Coriander Leaves - 1 bunch
4.
Mint Leaves - 1 bunch
5.
Green Chillies - 4-5
Preparation time:
30
- 35 minutes
Method:
Before
you know the preparation method, I would like to inform few things about
elephant yam. Once you cut the yam with a knife you will understand whether it
is tender or mature. If it is hard and mature, you boil them after making the
slices for about 10 minutes and then follow the procedure below from point 2. If
it is tender you can follow the under mentioned procedure without boiling.
Mature yam needs little boiling because it itches the throat and tongue while
eating if not cooked properly.

1.
Take an elephant yam and cut as per your requirement as I took 1/2 kg for my
recipe. Remove the skin of the yam with a scraper, rinse well in water and
slice them into pieces as shown in the picture below.


2.
Now rinse the coriander and mint leaves well in water, chop and grind into
paste along with green chillies.

3.
Then marinate the chopped yam with this green paste, squeeze a lemon over it
and let it marinate for 10-20 minutes.

4.
Switch on the stove, put a non-stick pan over it and apply little milk cream
with a spoon as shown in the picture below.

5.
Now take the slices of yam and fry on a pan for about 10 minutes with a lid
covering the pan.

6.
Once the yam turns golden brown, turn the slices upside down and let them cook
for another 5 to 10 minutes. You should be little patient here as under cooked
yam sometimes itches the throat while eating.

Here
comes the healthy and nutritious "Kandagadda Fry" cooked in a healthy
way without adding any harmful ingredients such as oil, ghee, salt, sugar,
masala, tamarind and other spices. So enjoy your meals with these delicious
fries.

Hope
you like it. Keep watching the space for more updates.
Sunday, June 5, 2016
Dr. Mantena's Monsoon Special - Sprouted Moong Tikki
Southern states of Andhra, Telangana, Karnataka, Kerala
and Tamil Nadu of India are experiencing early monsoon rains this year. You
must be wondering what rains have to do with our blog. Rain has some special
connection with human food. Whenever it rains the human mind desires to have
some hot tea, coffee and snacks. You see huge rush at the snack corners during
rains.
One should be very careful about their diet during
rainy season as the body is overburdened already fighting the viruses and
infections during this time. Unable to control their temptation people eat
unhealthy deep oil fried items like hot samosas, kachoris, mirchi bajji,
pakoras etc inviting trouble to their bodies.
With little awareness and some effort one can enjoy
monsoon season at home with healthy and delicious recipes without damaging our
health. Today's update is one such step in this regards. Therefore, today's
special in Dr. Mantena's Kitchen is " Sprouted Moong Tikki".
Sprouts are a part of regular food for Dr. Mantena's
followers. One gets bored raw sprouts every day and therefore people skip
eating them regularly. Instead of skipping you can make this kind of a
variation and enjoy. So without wasting much time let's go into the making of
this simple recipe.
Ingredients:
1. Sprouted Moong - 1 Cup
2. Coriander Leaves -
1 bunch (small)
3. Mint Leaves - 1 bunch (small)
4. Green Chilies - 3 to 4 nos.
5. Chickpea Flour - 1/4 Cup
6. Milk Cream - 2 to 3 tea spoons
Servings - 2
people
Cook Time - 15 to 20 Minutes
Method:
1. Take a cup of sprouted moong and green chilies and
grind into thick paste adding very little water. Since sprouted moong contain
plenty of water in it one should be very careful while grinding. The paste
should not become watery as it will be difficult to form a tikki. First try to
grind without adding water and add little water if needed. Do not over grind it
but leave small granules of the moong as it provides a crunchy taste to the
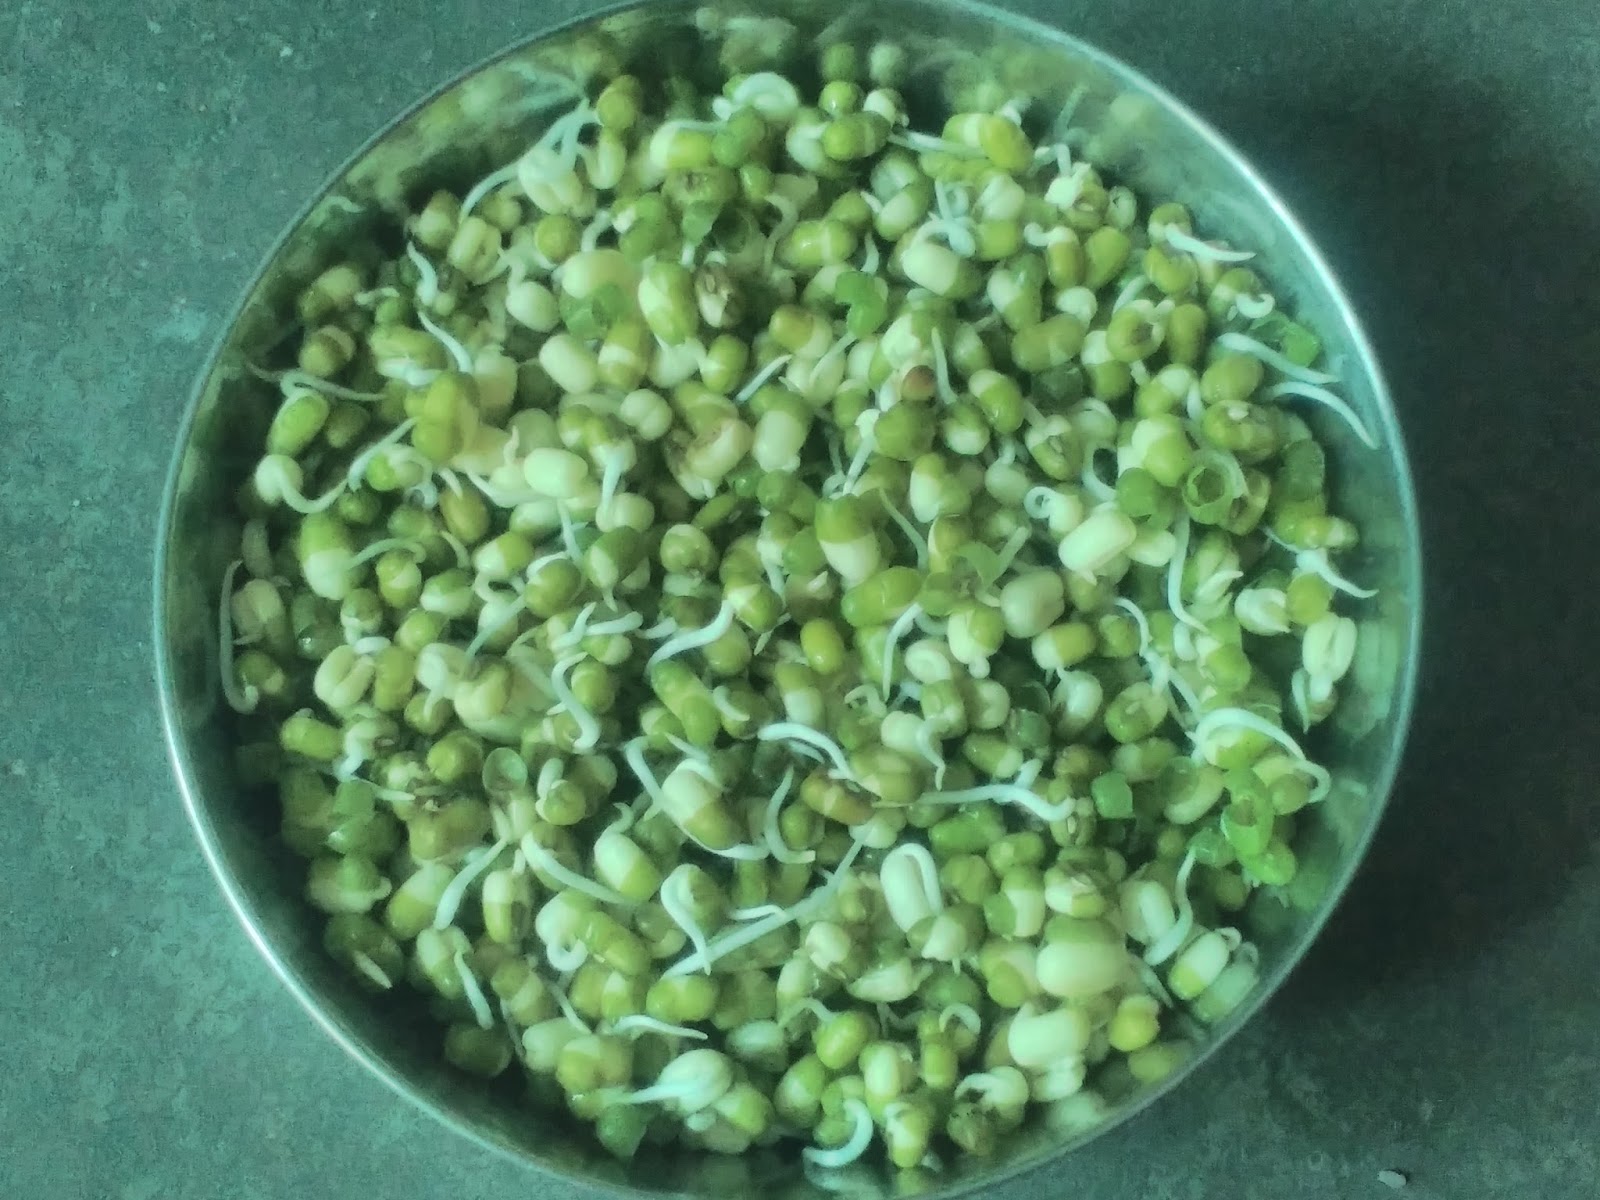
tikki. Dr. Mantena's followers do not need any explanation about sprouting but
for others here is a brief. Soak half cup of moong in water for about 8 hours,
rinse well and keep the moong in a sprout maker or in a container and cover the
lid for about 14 to 20 hours for better sprouting. Since you are not eating raw
10 - 14 hours will also do. But remember the more larger the sprouts the more
nutrient it is. Do not over sprout it as well. When the roots appear in a
sprout that means it is over sprouted. Over sprouted will make the moong
bitter. Sprouting sometimes is tricky as it does not come as desired due to
quality of the grains and sometimes the weather also affects. I wish you good
luck.

2. Finely chop coriander leaves and mint leaves and
keep it a side.

3. Take the grounded moong in vessel, add chickpea
flour and half of the chopped coriander and mint leaves and mix.

4. After mixing them well, take some paste in your hand
and make the shape of a ball and roll over the chopped mint and coriander
leaves and press as shown in the picture below.

5. Now light on the flame and put a non-stick pan over
it and let it heat for some time. Take a spoon of milk cream and spread all
over it as shown in the picture.


6. Now place the tikkies all over the pan and cover the
lid for about 5 - 10 minutes. Let them cook on a low flame. Remove the lid and
turn over the tikkies to cook on the other side.


7. Now the delicious and healthy tikkies are ready.
Serve hot with or without chutney and enjoy. The milk cream gives great colour and aroma to your tikkies. You can eat as many tikkies as possible without any
trouble to your stomach. If served hot you don't miss the salt and you do not
even think about the oil.

Keep watching the space for more updates.
Monday, May 23, 2016
Dr. Mantena's Special - Ragi Dosa
Dear Friends! I am back with yet another South Indian
delicacy as today's 'Dr. Mantena's Special - Ragi Dosa.' It is very popular in
Karnataka, Tamil Nadu and southern parts of Andhra Pradesh. The unique feature
of Ragi Dosa is its nutrition quotient and the crispy-crunchy taste of Dosa.
Finger millet or Ragi is a rich source of Calcium, Iron, Fiber and other
nutrients. It is usually a heavy food and takes long time to digest. One or two
Dosas provide you the energy for the whole day.
I had been to Bellur Village of Karnataka and happened
to eat a crispy Ragi Dosa at Kamat Restaurant. The dosa was so delicious that I
always visit Kamat for Ragi Dosa every time I go to Bellur.
I published few varieties of dosas in my previous blogs
and were very popular among health aspiring readers and followers of Dr.
Mantena Satyanarayana Raju. The major reason for success of Dr. Mantena's
kitchen is it's unique way of cooking healthy food on the guidelines of Dr.
Raju's cooking style. Usually dosas are made adding plenty of oil and masalas. Ragi
dosa is normally made with lot of oil. I took every possible step to make this
dosa healthy without losing its authentic taste. We enjoyed it very much and I
hope you will also try it out and do send your feedback. So without making any
delay let's go into the details of ingredients and making of Dosa.
Ingredients:
Ragi / Finger
Millet Flour - 2 Cups
Brown Rice Flour - 1 Cup
Black gram - 1/2 Cup
Yoghurt - 1 Cup
Water - 3 to 4 Cups
Procedure:
1. Soak half cup of black grams for 3 to 4 hours and
grind into fine paste as shown in the picture below. The quantity multiplies to one cup after soaking.

2. Take two cups of ragi flour in a bowl, add a cup of
rice flour, grounded black grams, yoghurt in it. Stir well and mix all these
flours adding 3 to 4 cups of water. Cover the lid and let it ferment for 6 to 8
hours. Soak overnight if planned to make a breakfast. Some people make instant
dosas without fermenting but I prefer to ferment as the batter becomes sour
enhancing the taste of dosa. Adding yoghurt to the batter adds extra tinge to
the taste.


3. Once the batter is fermented, put on the stove and
let the non-stick pan to heat for a while. Pour the batter in the middle of the
pan with a ladle and rotate in a circular motion as shown in the picture below.

4. Now cover the lid and let it cook for some time. As
we are not going to cook on the flip side, covering the lid will help in
cooking dosa on both sides.

5. Here comes the crunchy, crispy, delicious and
healthy ragi dosa ready to be served with chutney. Try this at home and do send
me your comments. Keep watching the space for more updates.


Saturday, May 21, 2016
Dr. Mantena's Special - Palak Minupa Vadiyala Kura
Hello Friends! I am back with yet another Dr. Mantena's
special recipe ' Palak Minupa Vadiyala Kura.' This is a very simple recipe that
takes less cooking time and easy preparation. Palak or Spinach is good source
of iron, vitamins and other minerals and so is minumulu (black grams).
When I published the post on preparing Minupa vadiyalu
I mentioned how this recipe comes handy when the vegetable prices go up. The
prices of vegetables are at peak in twin cities of Hyderabad and Secunderabad
and people are cursing the Government for failing to curb the rising prices of
vegetables. Had you prepared and stored the vadiyalu, instead of cursing the
Government you would have cooked recipes smartly like we did during this phase.
When you are cooking salt free recipes there is no
better vegetable than spinach. Spinach is rich in sodium and therefore the
tongue doesn't complain about missing the salt. Minupa vadiyalu gives great crunchy
taste and good flavour to the food. So without wasting any time further lets go into the ingredients and making procedure.
Ingredients:
Spinach - 4 bundles
Minupa Vadiyalu - 1/4 Cup
Green Chilies - 3 to 4 nos.
Black grams - 1 tea spoon
Curry Leaves - 5 to 6 leaves
Cook Time: 15 to 20 minutes
Serving: 1
Procedure:
1. Take 4 bundles of fresh spinach rinse thoroughly in
water and chop into small pieces as shown in the picture below.


2. Put on the stove and roast black grams in a non-stick
pan till brown adding chopped green chillies and curry leaves.


3. Add spinach and let it cook for 15 minutes on a low
flame with lid on. Open the lid and sauté it in between.


4. Dry roast the Minupa Vadiyalu in another pan and add
it to spinach and cook for another five to six minutes on a low flame.

5. Now the Palak Minupa Vadiyala Kura is ready. Serve
hot with phulkas and enjoy.

Keep watching the space for more updates.
Friday, May 13, 2016
Dr. Mantena's Summer Special - Butter Milk
Hello Friends! I am back with yet another summer
special - a Tangy Butter Milk. Butter Milk in India is known by different
names. Chaas in Hindi, Majjiga in Telugu, Majjige in Kannada, Mor in Tamil,
Ghola in Bengali and Taak in Marathi etc. Unlike the names, the process of
making this drink is common in every state. It is a very simple drink with less
ingredients consuming less time. It only needs some yoghurt, water and salt. Adding
sugar instead of salt makes it a Lassi, which is popular in Punjab.
It is one of the major drinks served in every part of
India during summer. It is a regular drink in rural India.
I recently been to Sinhgarh fort, 30 kilometers away
from Pune, Maharashtra with some of my friends. Apart from exploring the view
of nature and the glory of Sivaji Maharaj we cherished the 'masala taak - a
tangy butter milk' sold by the local villagers. It was spicy and tangy butter
milk sold in earthen pots. They have added green chilies, mint, coriander
leaves, black salt and cumin seeds to it. Apart from spices the yoghurt stored
in earthen pot with pure creamy buffalo milk was giving great taste to the
butter milk.


So today's special in Dr. Mantena's Kitchen is " a
masala taak - a tangy butter milk" with Dr. Mantena's twist. So get ready
to note the ingredients.
Ingredients:
1. Yoghurt - 500 gms
2. Mint Leaves - 10 nos.
3. Coriander leaves - small bunch
4. Cumin seeds - 1 tea spoon.
Serving: 5 glasses
Procedure:
1. Take a blender or mixer grinder and pour the yoghurt
in it.


2. Roast the cumin seeds and crush into fine paste
using a mortar pestle.


3. Add this crushed cumin seeds and mint leaves into
the jar and blend it for some time.


4. Now pour the blended yoghurt in a big vessel and add
1 litre chilled water from a earthen pot and your tangy butter milk is ready.
Some people strain the butter milk as the small pieces of coriander and mint
leaves come in the way to your throat. It is completely optional to strain as I
personally prefer not to strain.

A sour yoghurt is ideal for making this drink as we are
not using any kind of salt. Buttermilk with salt increases the thirst instead
of decreasing it. If it is too sour adjust the taste by adding some more water.
So, enjoy your summer by drinking this kind of drinks to beat the heat.
This is an ideal drink after having a meal of wheat
phulkas, rotis made of jowar and ragi as the water contents in these foods is
less compared to rice meals as we use dal, sambar, rasam etc.
Before concluding let me make it clear that only water can quench the thirst and there is no match for water in this regards. During summer, we normally drink more water but not enough. Since the body easily gets dehydrated we need to replenish the level of water in the body. These juices and drinks are just to deceive the cunning mind and send water into the body. These are very useful tricks to hydrate children and adults even.
This is it for now. Keep watching the space for more
updates.
Wednesday, May 4, 2016
Dr. Mantena's Summer Special - Cucumber Lemonade
Dear Friends, I have been
uploading a special drink every summer if you remember. We throng to
juice centres to enjoy special drinks and juices to beat
the heat. In this fast paced world making a juice at home is a
hectic thing. But if you have little patience we can make wonderful summer
drinks at home that serves taste as well as health. If you observe the juice
stalls you find unhygienic atmosphere around with flies all over. You can make
and serve some healthy and hygienic drinks at home for the entire family. There
is no better drink than water to quench the thirst and no better fluid
supplement than water for your body. But the cunning mind ask for something
cool and sweet when exposed to sun and heat during summer. Children don't drink
water unless they are too thirsty. These juices are just to cheat the cunning
mind and take water in the form of juices.
Today I have come up with a
easy and quick to make kind of juice popularly known as 'Cucumber Lemonade'. It
hardly takes ten minutes to make and is really healthy and tasty as well. So,
Let's go into the ingredients and making without wasting any time.
Ingredients:
Cucumber
- 2
nos.
Lemon - 2
nos.
Honey
- 1 Cup
Making Time
- 5 minutes.
Servings - 2
people
Preparation:
1. Take two tender
cucumbers, peel off the skin, chop them into pieces and put them in the blender
of mixer grinder as shown in the picture below. Cut the side edges of the
cucumber and throw them away as they may taste bitter.


2. Squeeze two lemons into
the mixer grinder.

3. Now finely grind the
cucumber in a blender or grinder and take it in bowl/vessel as shown in the
picture below. If the cucumber is tender it contains more water and less pulp.

4. Now add a cup of honey
and stir well.

5. Add a glass of cool mud
pot water into the pulp and stir well. Your delicious and healthy cucumber
lemonade is ready. Enjoy!

Keep watching the space for
more updates.
![]()
Subscribe to Posts [Atom]